Using Drone Data for BIM Coordination & Construction Progress in India
How project teams can connect repeatable aerial capture with BIM review, site records, quantities and stakeholder reporting.
By SkyViews Aerial Drone Studio
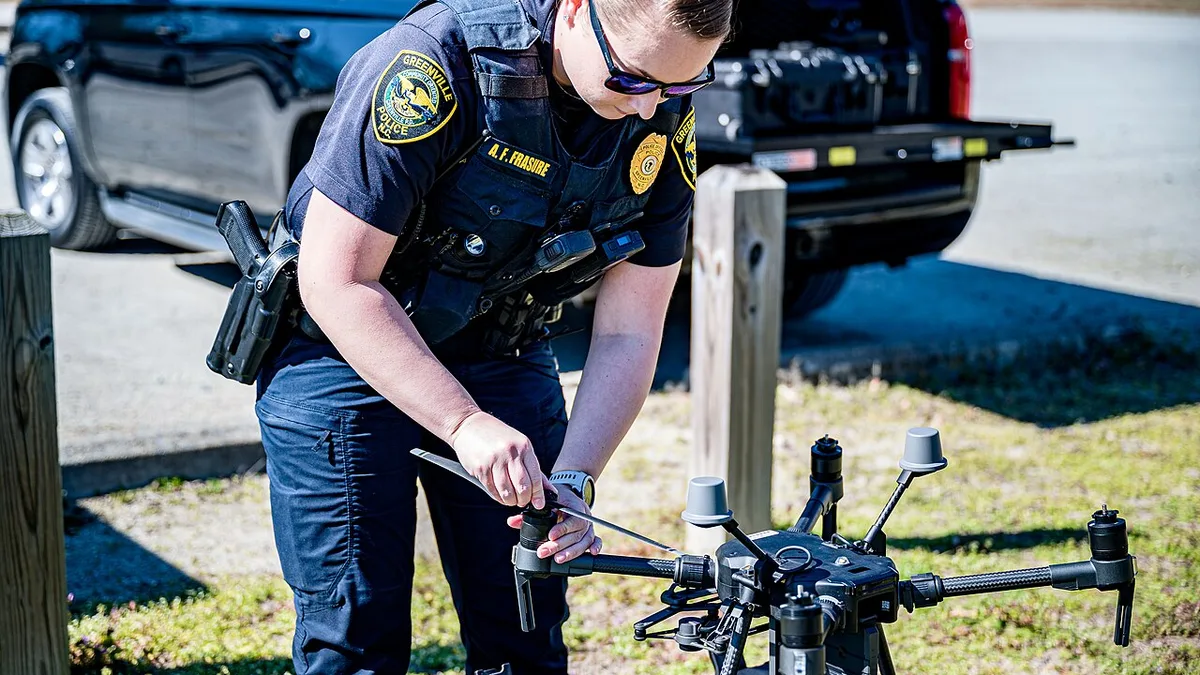
A drone can capture a construction site in a day, but a folder of images is not automatically useful to a BIM team. The project needs to know when the images were made, which area they cover, how they line up with the model and what decision they support. A well-planned aerial record can improve progress meetings, earthwork discussions and site logistics. It should enter the same information workflow as drawings and other project records.
This guide explains how construction teams in India can connect drone photography or mapping to BIM coordination. It is for project managers, BIM coordinators, surveyors and document controllers. The exact technical specification belongs to the project team. A drone view can support review, but it does not certify hidden work, construction quality or contractual completion.
Begin with an information request
Before asking for a flight, write the question. The team may want to compare current work with a programme date, locate stockpiles beside planned roads, review access around a crane, or provide a dated overview to the client. Each question needs a defined area and output. A progress meeting may need labelled stills; a quantity exercise may need measured surfaces; a model overlay needs compatible coordinates and versions.
Name the receiving person and the action they will take. If the BIM coordinator only needs a current base image, a complex point cloud may add processing and storage without helping. If the surveyor needs elevations for a design check, uncalibrated photos will not be enough. Choose the simplest deliverable that answers the actual request, with a stated quality level.
Record the project phase and model status. A “latest model” label is too vague when architectural, structural and services teams publish at different times. Use a version ID and date from the common data environment. The drone capture needs its own timestamp so an overlay cannot be mistaken for a live view of construction.
Set the coordinate and reference rules
The team should confirm the project grid, units, horizontal and vertical datum, model origin and rotation before processing survey data. Some projects use local coordinates for design and a separate map coordinate system for geospatial work. The transformation between them must be known if the two are to line up. A model placed by eye on an aerial photo may be helpful for discussion, but it should be labelled as illustrative.
buildingSMART's IFC (Industry Foundation Classes) specifications describe how a project coordinate system can be connected to a recognised geospatial reference. The site team's actual model and survey records still define the working coordinates. Ask a responsible BIM or survey lead to approve the alignment before anyone uses an overlay for a measured comparison.
Ground control and independent checks may be needed when the output has an accuracy requirement. Define the target accuracy, control layout, checkpoints and acceptance method in advance. Pixel size is not the same as positional accuracy. USGS technical guidance on drone photogrammetry calibration explains why control and validation matter. A clear, sharp image can still be in the wrong place if the reference is weak.
Plan a repeatable capture boundary
Mark the site boundary and active work packages on a plan. Identify cranes, overhead lines, tall structures, people, vehicles, restricted areas and safe launch positions. The operator should review current airspace, weather and site activity for each visit. Construction sites change rapidly; a safe position last month may be occupied by a new excavation today.
Choose fixed overview views for recurring reports and a mapping area for any measured product. Give each view an ID and direction. The team may also need closer views of a named structure or laydown area. Keep the shot list tied to building, level, zone or work-package IDs used by the project. If access blocks a planned view, record the gap rather than silently replacing it with a different angle.
Capture timing should follow decisions. A monthly visit may work for broad progress, while a key earthwork or roof milestone may need a separate date. Agree what happens if rain or site operations delay the planned capture. Do not date a later image as if it represents the scheduled milestone. A record of missed visits is part of an honest sequence.
Choose the right kind of output
An indexed still set gives people a quick visual record of facades, yards and access. An orthomosaic is a map-like view of visible ground and structures. A point cloud or surface model can provide geometry for selected comparisons when it is created and checked to the required standard. A 3D textured model can help explain massing. These products are related but not interchangeable.
If the purpose is earthwork quantity, define the base and current surfaces, calculation boundary and acceptance rules. If the purpose is model coordination, define what objects will be compared and how the models will be aligned. If the purpose is communication, a smaller set of approved images with clear labels may be enough. A single drone flight can feed several outputs, but only if all uses are planned before capture and the data quality meets each need.
Tell the crew what the receiving software can open. Ask for the required file format, coordinate reference, resolution, naming convention and maximum file size. A large point cloud delivered without a read-me or test import can be unusable despite careful capture. Test a small sample in the project environment before committing to a recurring workflow.
Keep visual progress separate from acceptance
The aerial image may show a slab, roof or road in place. It cannot confirm reinforcement, material strength, waterproofing or hidden service installation. A model overlay can highlight a visible difference between planned and observed geometry, but the team must review coordinate uncertainty and construction sequence before calling it a defect.
Use plain observation labels. “Material stored in the planned access corridor on the capture date” is supported by an image. “Contractor failed the logistics plan” needs project records and review. “North roof appears complete from above” is different from technical handover. This separation lets the BIM image help meetings without becoming an unsupported certificate.
Include limitations in the same view as the finding. A shadow may hide an edge; scaffolding may conceal a facade; the model may represent a later design revision than the site has reached. If two dates have different control or processing methods, a small apparent shift might be a data issue rather than a physical change.
Connect every image to the project record
Use a file name or metadata table that includes project, zone, date, view ID and version. Store original photos, processed maps, annotated copies and meeting exports separately. The document controller should know which is the accepted deliverable and which is a draft. Keep a source-to-output link so an annotated slide can be traced back to the original image.
A handover can include a coverage map, capture log, control and checkpoint summary where relevant, file list, processing version, excluded areas and a concise limitation note. The BIM coordinator should record the model version used for each overlay. If a design model changes later, the old comparison should remain attached to its original model state rather than being silently updated.
For recurring work, place the output in the project's approved information system. An email attachment may help a meeting but is not a reliable long-term record by itself. A simple read-me can explain the folder structure and how to load a file. The data handoff guide covers related delivery choices.
Turn the record into a useful review meeting
Start a progress meeting with the site overview, then move to named zones and questions. Show the relevant model view and capture date together. Give every open observation an owner and next check. Some items will be resolved by a field walk, others by design clarification or survey. A drone map should make that next step clearer, not replace it.
After the meeting, save the annotated images and decisions as a versioned record. Keep unresolved items visible in the next capture so the team can see whether the area changed. The construction KPI reporting guide explains how dated visual evidence can sit beside project measures without pretending that an image itself is a KPI.
FAQs
Can drone data be linked to BIM?
Yes. The capture, coordinates, model version, formats and intended comparison need to be defined. A visual overlay can be useful for discussion; measured alignment needs survey checks.
How often should a construction site be captured?
Choose a cadence around decisions and milestones. Record every actual capture date, including delays or missed areas, so later comparisons remain honest.
Does an aerial model prove construction quality?
No. It shows selected visible surfaces and context. Concealed work and technical acceptance require the appropriate inspections, tests and project records.
Plan your project
Share your site, dates and intended output so we can confirm a suitable scope.
Construction & Infrastructure · Compare project scope · Get in touch
Related reading
- Construction Crane and Vertical Progress Drone Photography in India
- Construction Drone KPI and Progress Reporting Guide for India
- Construction Drone Progress Monitoring in Bangalore: A Practical Guide
- Drone Damage Mapping for Emergency Response in India: A Field Planning Guide
- Drone Aerial Documentation for Public-Housing Redevelopment Projects
- Drone Service Provider Evaluation Scorecard for Indian Projects
Contact SkyViews Aerial Drone Studio at +91 90190 56479 or skyviewsdronestudio@gmail.com. Service area: Bangalore, Karnataka and India and wider Bangalore, Karnataka and India.