Drone Roof and Facade Surveys for Facility Maintenance Teams
A practical way for property and facility managers to plan visual inspections, maintenance priorities and repeat condition records.
By SkyViews Aerial Drone Studio
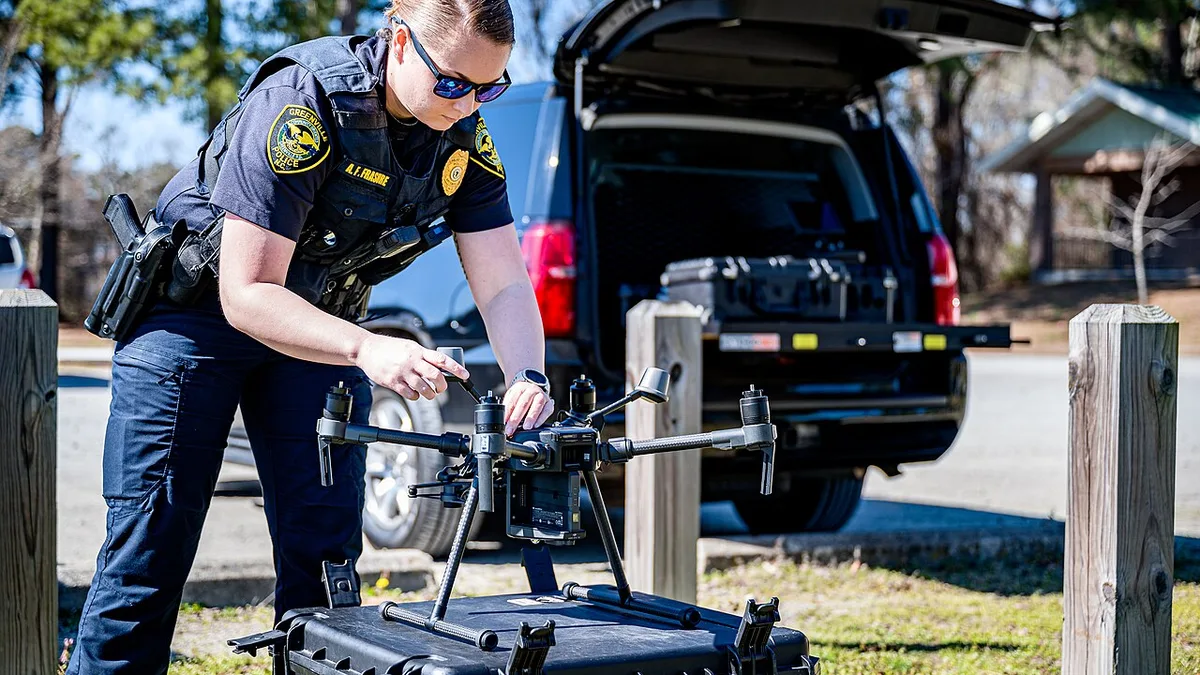
A facility manager may know that a roof leaks or a facade looks stained without knowing which area needs a closer inspection. Reaching upper surfaces can take time and disrupt an occupied building. A drone survey can provide a dated visual record of accessible exterior surfaces and help the team plan where qualified people should look next. It works best as part of a maintenance process, not as a stand-alone diagnosis.
This guide shows how property and facility teams can brief a roof and facade survey, organise the images and turn visible observations into follow-up work. The approach applies to offices, residential blocks, industrial buildings and campuses in India. The building owner and pilot must agree a safe, authorised operating plan for the actual site. Aerial pictures cannot reveal every hidden defect or replace tests and specialist inspections where those are needed.
Maintenance Questions & Building Zoning
Begin with the maintenance question
Write down the decision the team is trying to make. Is it planning a roof repair budget, investigating a reported leak, checking facade cleaning needs, recording the condition before handover, or comparing a completed repair with its earlier state? Each question changes the capture plan. A wide roof overview may help budget planning, while a leak investigation may require closer views of a specific drain, joint or parapet.
Ask the maintenance team which areas have a history of problems. Review available plans, previous inspection notes and work orders. A repeated complaint near one corner of a building is more useful for planning than a general request to “photograph all roofs”. At the same time, include enough context around the suspected area to avoid mistaking a local mark for a building-wide problem.
Define the output before the visit. The client may need a simple photo set, an annotated inspection register, a comparison with last year, or a list of locations for access planning. State who will review the imagery and who has authority to diagnose and approve work.
Divide the building into clear zones
Create a small asset map. Give each block, roof section and elevation a stable ID. Then add useful component labels such as parapet, gutter, downpipe, skylight, plant screen, sign, cladding panel or access ladder. An observation should point to a place that a maintenance worker can find without guessing from a thumbnail.
For a large property, use a simple grid or plan reference. “Block B, south elevation, bay 4” is more actionable than “crack on wall”. For a complex roof, mark the direction of each image. Keep the ID system compatible with existing work orders if the client already has one. Creating a new code that nobody else uses can make handover harder.
Record areas that are outside the survey. A rooftop plant may block a view, or a neighbouring property may prevent a suitable camera angle. A clear limitation is part of the record. It prevents a later reader from treating an unseen surface as an inspected surface.
Plan safe access around an occupied site
The pilot and site contact should review people, vehicles, terraces, neighbouring buildings, wires, plant equipment, take-off areas and the current use of the property. A quiet time for the facility may offer a better operating window, but the actual conditions still control the flight decision. Inform relevant occupants or security staff so an unexpected drone does not cause confusion.
Agree the no-flight and no-film areas. Some balconies, private windows or security-sensitive equipment may enter a frame even when the target is a roof edge. Choose camera angles and access controls that fit the site's privacy needs. Where a close view would require an unsuitable flight path, plan another way to inspect it.
Weather matters for both safety and interpretation. Rain, glare and strong shadows can obscure details. A damp surface may reveal a drainage pattern but may also look different from a dry baseline. Record the conditions and avoid comparing two images as if they were identical when light or weather has changed substantially.
Overview Capture & Cause Investigation
Capture overview and detail together
Start with views that identify the building and zone. Then capture closer images of the agreed components where the flight can be made safely. The overview helps a reviewer locate a detail later. A tight photograph without surrounding context can be hard to assign to the right bay or roof section.
Keep the camera as steady and direct as practical for condition review. A dramatic oblique angle may work for marketing but can hide a joint or distort the apparent size of a mark. Where possible, photograph the same component from more than one useful direction. Note the direction and approximate viewpoint in the index.
If thermal imaging is proposed, define the question and conditions for its use. A coloured thermal image is not a leak diagnosis by itself. Surface temperature patterns need appropriate capture conditions and a qualified interpretation. Do not add a thermal deliverable simply because a camera supports it; add it when it helps answer a defined maintenance question.
Describe what is visible, then seek the cause
The first reporting layer should state what the photograph shows: staining, displaced material, an open joint appearance, debris near a drain, corrosion-like colour, a loose-looking sign or an obscured area. Avoid presenting a cause as certain when it cannot be established from the image. A dark roof patch may have several explanations. A line on a facade may be a shadow, joint, stain or crack.
Use a separate field for the next check. “Ground inspection needed at south parapet” is a useful instruction. “Waterproofing failed” is a diagnosis that may need direct access, testing and a specialist. Where the image is too distant or obscured, mark the observation uncertain. Do not force every asset into a good or bad category.
Give each observation an ID and link it to the clean source image. Keep annotated crops for quick discussion, but preserve the wider original view. A reviewer should be able to see what was marked and the context around it.
Turn observations into a work plan
A useful register can contain zone, component, visible observation, image ID, confidence, suggested follow-up, owner and status. The facility team can then sort by area and assign safe access. If the client uses an asset management system, agree its import fields before preparing a separate spreadsheet that may have to be rebuilt.
Do not confuse an image-based priority suggestion with a technical risk rating. The client may have its own rules for urgency, occupant impact and statutory checks. Let the responsible person apply those rules after reviewing the evidence. A visible issue near a public entrance may need a faster site check than an equally sized mark in an inaccessible plant area, but that decision belongs to the building team.
Track what happens after the survey. A work order can be raised, inspected on site, repaired and verified. Record those stages separately. An image showing a repair crew on a roof does not prove the repair is complete. A follow-up photograph and the contractor's closeout record can be linked to the original observation.
Temporal Comparison & Final Deliverable Checks
Use repeat views to see change
Keep a small set of reference viewpoints for future surveys. Record building, zone, camera direction, date and any condition that affects comparison. The next visit can aim for similar framing and show the images side by side. If new plant or scaffolding blocks a view, explain the difference rather than presenting an unrelated angle as a match.
After a repair, capture the same area and retain the before and after images. If the repair is hidden under a new surface, the photograph can document visible finish but cannot confirm every step beneath it. Link the contractor's records or test results when those facts matter.
Set a revisit interval around the building's actual needs. A roof with recent work or repeated water complaints may need a different schedule from a stable facade. A survey is most valuable when its findings feed a planned inspection or maintenance cycle.
Check the delivery before closing the job
The handover should include dated original images, a searchable image index, an annotated findings register, a zone map and a limitations note. It should distinguish raw files from edited review copies. Open sample files and confirm the image IDs match the report. Check that the maintenance team can locate a listed component from the description alone.
The practical test is simple: can a manager find the issue, see the source view, assign the right specialist and return later to see what changed? If so, the drone survey has become a useful maintenance record. For related planning, see the commercial roof maintenance guide and property-management audit guide.
Plan your project
Share your site, dates and intended output so we can confirm a suitable scope.
Drone Survey & Mapping · Compare project scope · Get in touch
Related reading
- Apartment Society Roof and Facade Drone Inspection in Bangalore
- Drone Data Handoff for GIS, CAD & BIM Teams in Bangalore
- RTK, PPK and GCPs in Drone Surveys: Accuracy Explained for Indian Projects
- Drone Imagery for ESG and Environmental Baseline Reporting in India
- Commercial Drone Shoot Call Sheet: What to Include Before Crew Arrival
- Drone Asset Inventory Data Model: From Aerial Images to Actionable Records
Contact SkyViews Aerial Drone Studio at +91 90190 56479 or skyviewsdronestudio@gmail.com. Service area: Bangalore, Karnataka and India and wider Bangalore, Karnataka and India.